CSV List Cleaning Workflow: Preview, Clean, and Segment
Validation App Team

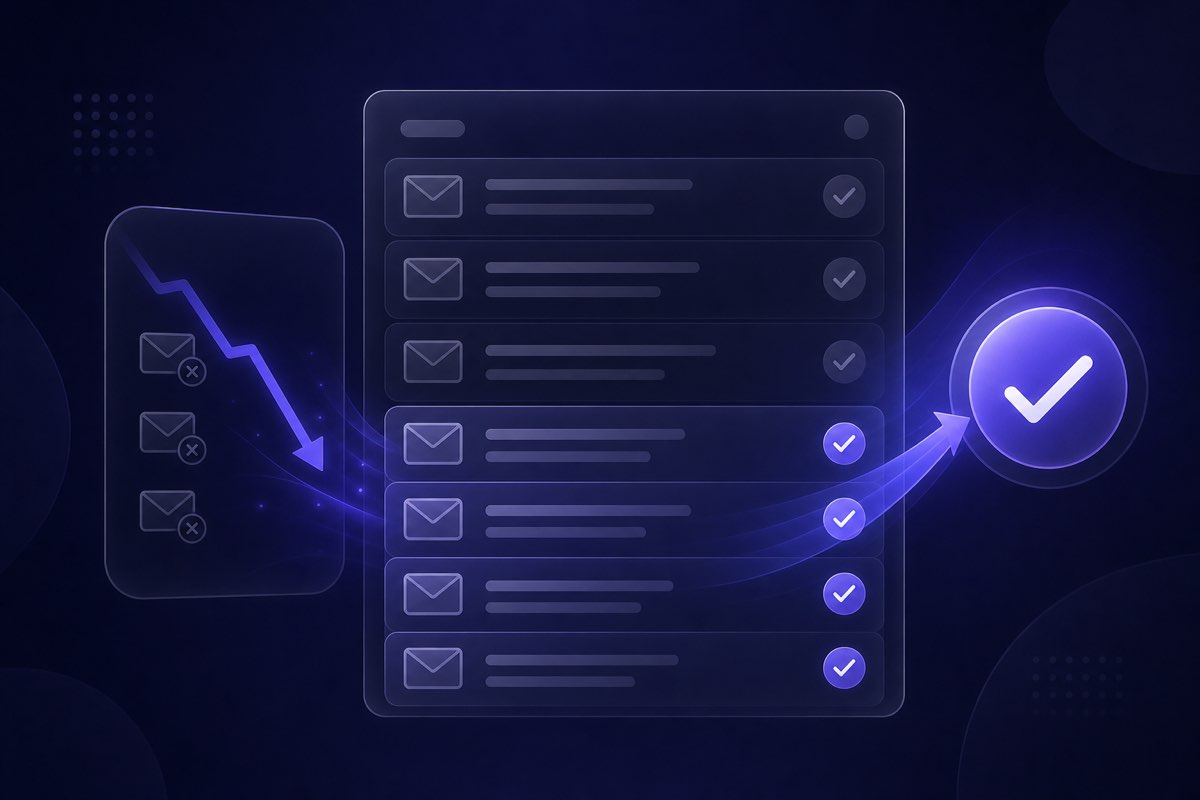
Most marketers do not need another spreadsheet hack—they need a repeatable way to take a messy CSV export, understand what is in it, remove addresses that will bounce, and import a segment that matches how aggressive the send should be. That is what email list cleaning is for, and Validation App is built around a simple dashboard flow: upload, preview, clean, segment, download.
This walkthrough covers the full CSV workflow in Validation App—what to prepare before upload, how the free list preview works, when to run a full clean, and which download segment to pick for your campaign.
Before you upload: prepare your CSV
A few minutes of prep saves credits and avoids failed imports:
- One email column — export from your CRM or ESP with a clear header (e.g. email or Email Address). Extra columns (name, company) are fine; Validation App maps the email field on upload.
- Remove obvious junk in the sheet — delete blank rows, internal test addresses, and duplicate emails before upload. The dashboard shows duplicate counts, but deduping upfront keeps the file smaller.
- Segment before you clean — if you only plan to mail one cohort (e.g. US contacts or last-90-day sign-ups), export that slice first instead of cleaning an entire database you will not use.
- Know list age — lists untouched for 12+ months often carry higher invalid rates. Re-verify even if you cleaned once before.
Step 1: Upload from Bulk Scans
In the dashboard, open Bulk Scans and upload your CSV. Validation App parses the file, detects the email column, and shows a row count plus duplicate summary before you spend credits on verification.
If the file is large, start with a representative sample for the preview step below—you do not need to validate every row to understand list health.
Step 2: Run a free list preview
The free list preview samples your upload and runs deliverability checks on that sample at no credit cost. Use it to answer:
- What share of rows look invalid, risky, or catch-all?
- Is this list worth a full clean before the campaign date?
- How aggressive should you be—newsletter to opted-in users vs. cold B2B outreach?
You can also run a free preview from the trial page if you have not signed up yet—upload a CSV sample and review deliverability scores and send recommendations before creating an account.
Preview results show categories such as valid, invalid, disposable, role, catch-all, and unknown—each with a send recommendation where applicable. That breakdown is more useful than a single “list score.”
Step 3: Clean the full list
When the preview looks reasonable—or bad enough that you know cleaning is mandatory—start a full verification job on the upload. Validation App checks syntax, domain/MX records, and SMTP-level mailbox status where providers allow it, then labels every row.
Jobs run asynchronously; you can leave the dashboard and return when processing completes. Credits are consumed per validation according to the service type you run (full deliverability check vs. threat-only, etc.—see the API docs if you need the same logic programmatically).
Step 4: Download the right segment
After a job completes, download CSV segments tuned to campaign goals—not just one “cleaned” file:
- Full report — every row with verification status and recommendation columns added. Use this for analysis or to build custom filters in your ESP.
- Safe to send (best reach) — rows marked safe to send only. Best when reputation matters more than maximum audience size—typical for cold email or re-engagement after a long pause.
- Safe + cautious (max reach) — includes cautious rows such as some catch-all or unknown addresses. Use when you accept more risk for reach; test a small batch first if you are unsure.
For verification jobs you can also filter exports by provider (e.g. Gmail-only) when your campaign targets a specific mailbox ecosystem.
Choosing a segment for your send type
- Opted-in newsletter — safe to send, or safe + cautious if engagement history is strong.
- Product launch to CRM — safe to send; exclude invalid and disposable rows.
- Cold B2B outreach — safe to send only; consider excluding catch-all entirely.
- Win-back / dormant list — safe to send; re-preview first if the list is older than six months.
When in doubt, mail a 5–10% test from the conservative segment and compare bounces and complaints before scaling.
After download: import and measure
- Import the segment into your ESP or outreach tool—do not merge back unverified rows.
- Send a test batch if the list is high-stakes or cold.
- Compare hard bounce rate, complaints, and engagement against your last campaign on an uncleaned file.
- Keep the full report CSV for audit; tag the upload in Bulk Scans so you know which job produced the file.
Common mistakes to avoid
- Skipping preview — cleaning a 200k-row list without sampling first burns credits on a file you might have discarded.
- Using max reach by default — “safe + cautious” is not wrong, but it is not the safest default for cold sends.
- Re-importing the original list — merge only the downloaded segment; otherwise invalid rows creep back in.
- One-time cleaning — re-run verification when the list ages or after major CRM merges.
Ongoing hygiene beyond one CSV
List cleaning is not only a pre-campaign event. Validate at signup via the REST API so bad addresses never enter the database, and re-check stale exports before big sends. For single addresses, use the deliverability checker before adding a contact to a sequence.
Where to start
- Export the segment you plan to mail this week.
- Upload it to Bulk Scans—or try a free list health preview on the trial page.
- Review invalid, disposable, and catch-all counts from the preview.
- Run a full clean, download the segment that matches your risk tolerance, and send.
Ready to preview your file? Start your free list health preview—no commitment required.
Related articles